

How to Use Shea Butter for Skin and Hair
Shea butter can feel rich in the jar, but you usually need less than you think. If you’re learning how to use shea butter, start with a small amount on damp skin or hair, then adjust only if needed.
We analyzed 67 comments and questions from Reddit, YouTube and Quora about using Shea Butter and found that 30% mentioned mixing shea butter with other oils.
These steps cover how to choose it, apply it, fit it into a routine, and keep it in good shape. We’ll also cover simple DIY uses and when a lighter product may suit you better.
Step 1: Choose Your Shea Butter and Patch-Test It
First, choose a butter that suits your needs, then test it on a small patch of skin. Shea butter comes from the kernels of the shea tree, a tree native to parts of West Africa. It’s a plant fat used in skin and hair care for its moisturizing feel.
Raw or refined?
Raw, also called unrefined, shea butter is often beige or yellow and may have a mild, nutty smell. Refined butter is usually lighter in color and has little scent. Processing can change the butter’s natural components, so the two types may differ in smell, texture, and composition. Neither type is a medicine, and neither should replace care recommended by a health professional.
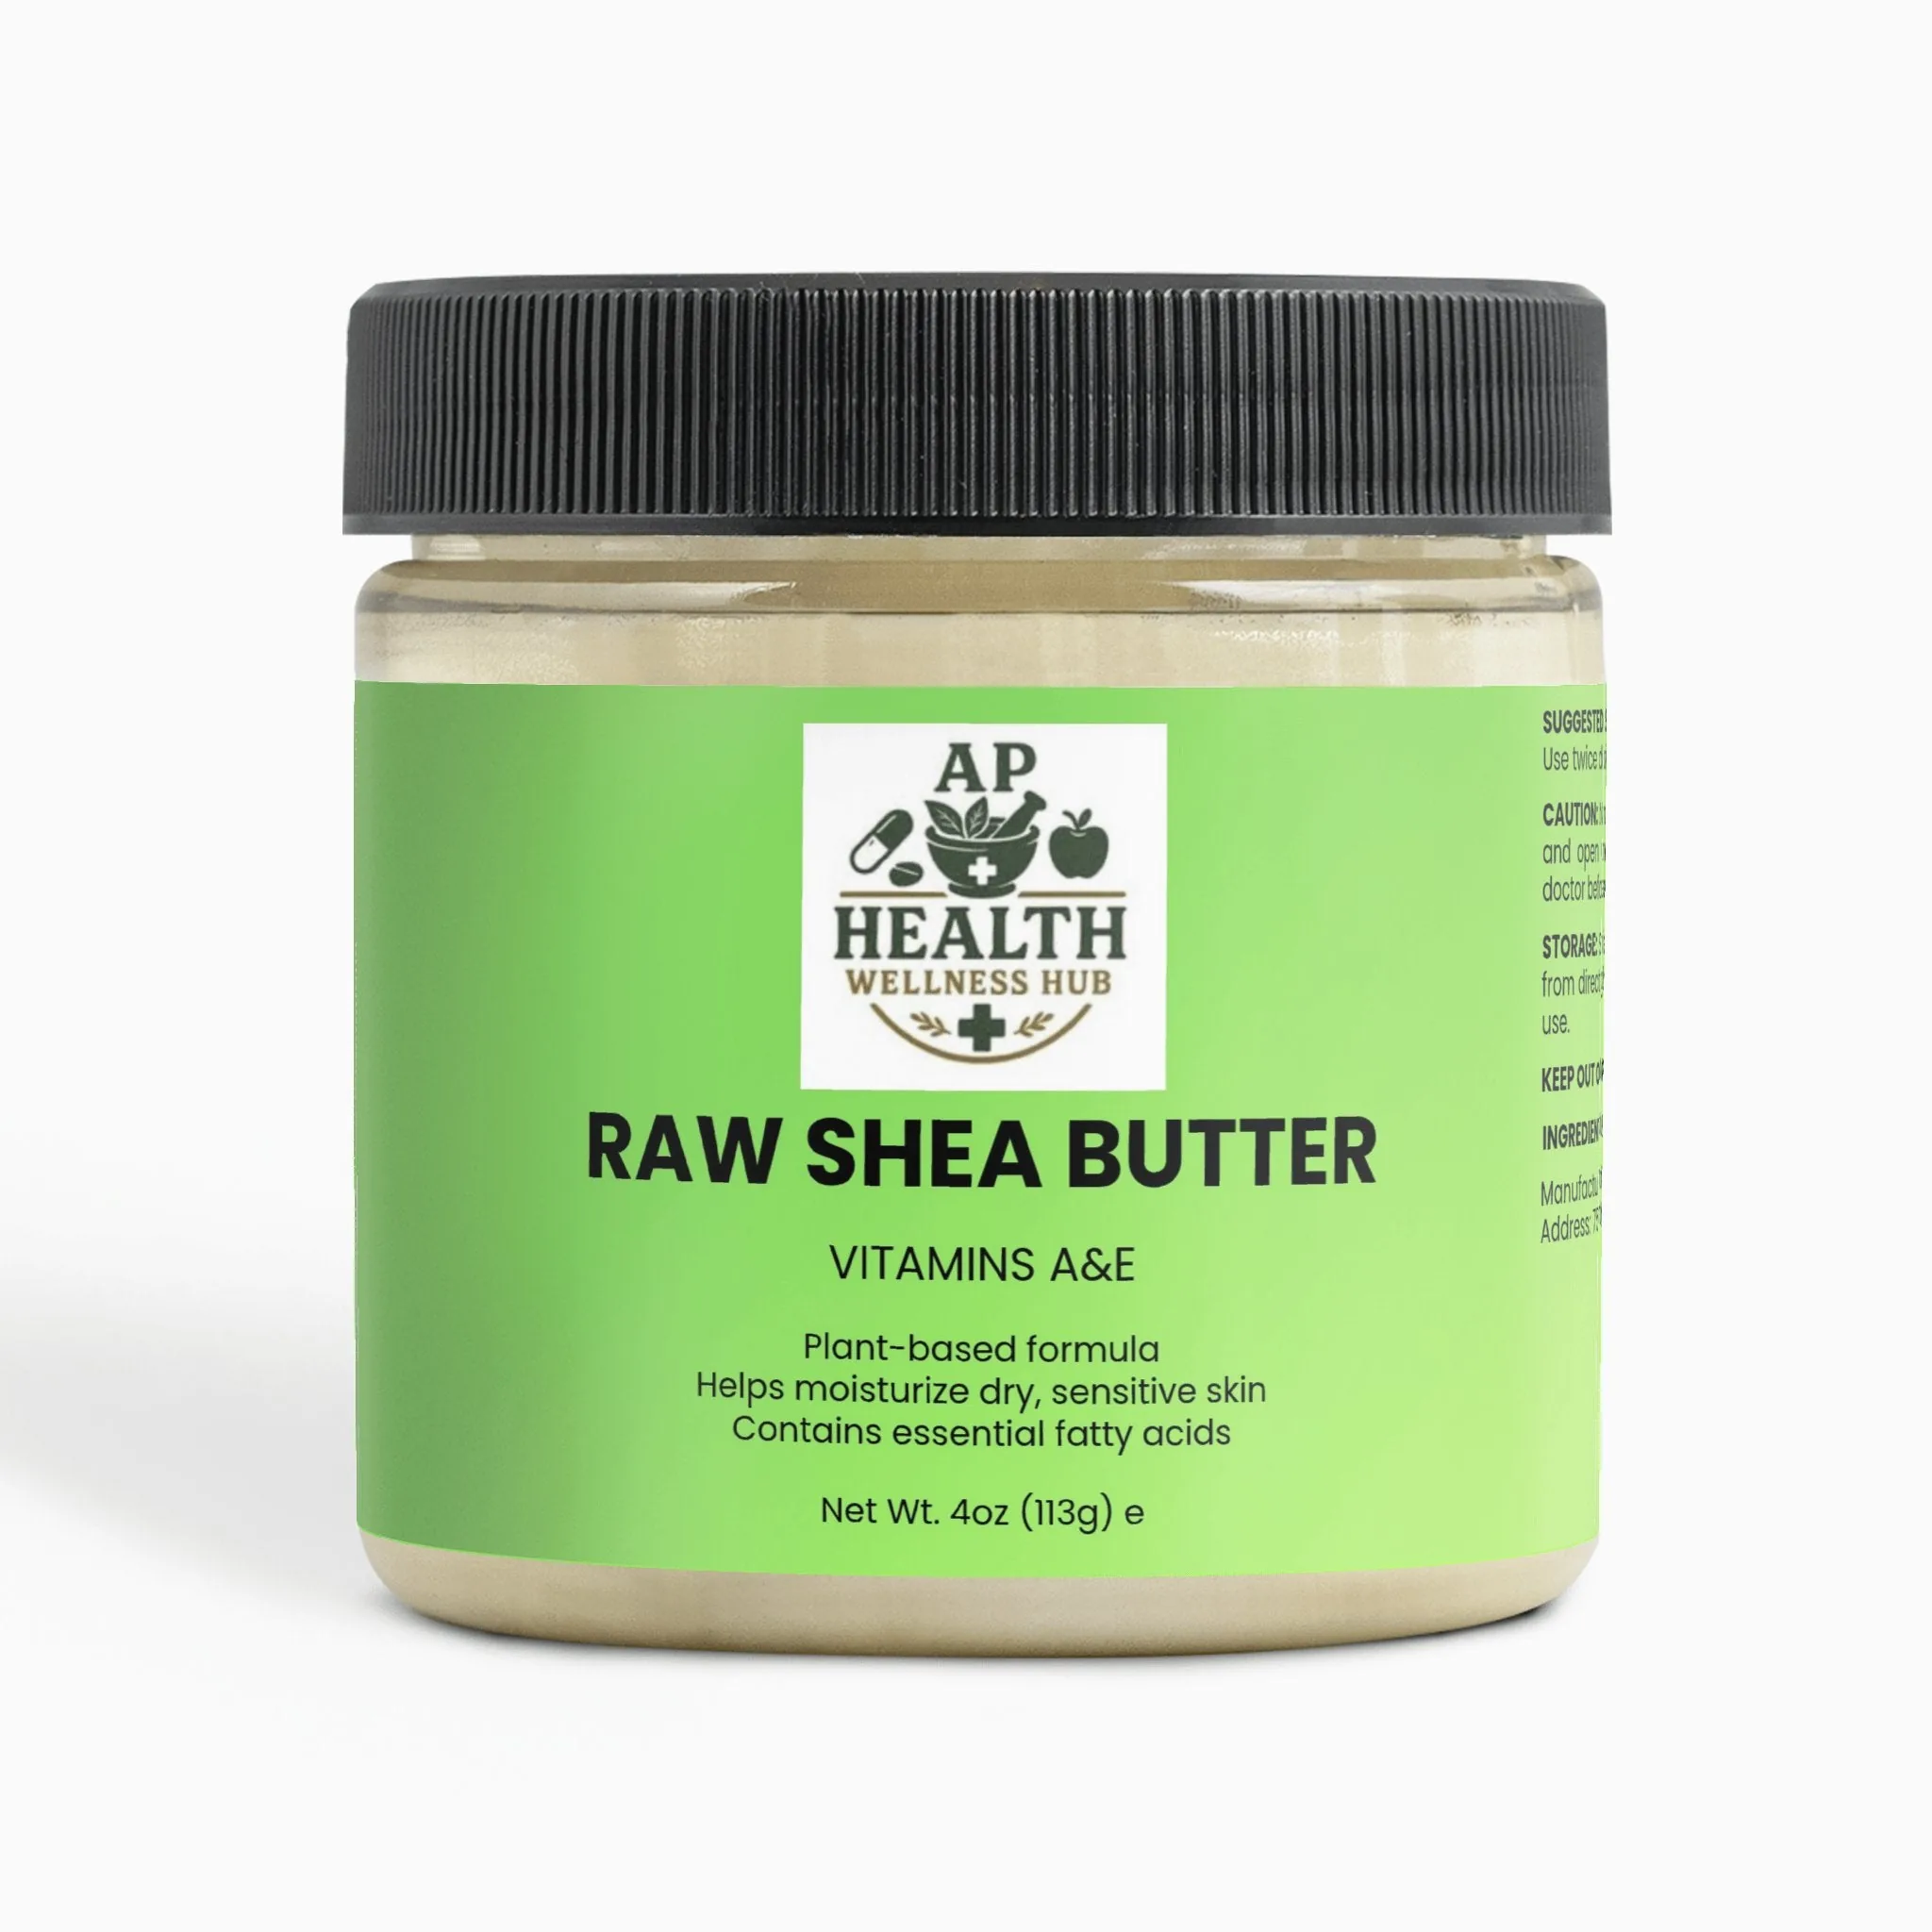
If you prefer a simple ingredient list, check the product label. AP Health Wellness Hub sells Raw Shea Butter as part of its self-care range. Shop Raw Shea Butter → Choose based on the feel and scent you like, plus any ingredient concerns you already know you have.
Patch-test before wider use
Apply a small amount to the inside of your wrist, the bend of your elbow, or behind your ear. Leave the spot alone for 24 to 48 hours. Don’t wash it during that time. Look for redness, itching, swelling, or raised bumps before using the butter on a larger area.
Some people react to cosmetic ingredients, even when most people tolerate them well. Raw shea butter may contain natural latex, so people with a latex allergy should ask a health professional before using it. If a patch test causes a reaction, stop. Don’t try to push through redness or itching.
Step 2: Soften a Small Amount Before Applying
Warm the butter in your hands so it spreads in a thin layer. A pea-sized amount is a useful starting point for your face or one small area of skin. For a larger area, begin with a little more, then add only if you still need it. A large scoop can sit on the surface and feel greasy.
Scoop with clean, dry fingers or a clean utensil. Rub the butter between your palms for several seconds until it softens. Then smooth it over slightly damp skin or hair. Shea butter helps slow water loss from the surface; it doesn’t add water by itself. Applying it while skin is damp gives it moisture to help hold in.
After a shower, gently pat your skin with a towel instead of drying it fully. Apply the softened butter soon after. If you’re using it on your hands, dampen them first or apply after washing while a little moisture remains. For dry heels or elbows, work a small dab into the rough patch and give it time to settle.
Give the first layer a few minutes before adding more. If your skin still feels slick or tacky, use less next time. The right amount can vary with the area you’re covering, the weather, and how your skin feels that day.
For the face, don’t press a thick layer close to your eyes. Keep it away from your lash line and stop if it stings. If a dense butter feels too heavy on your face, try it on your hands, heels, or elbows instead.
Step 3: Apply Shea Butter to Skin
Use shea butter as a moisturizer on areas that feel dry or rough. Start with clean skin that’s slightly damp. Warm a small amount between your fingers, then spread it in a thin layer. Focus on places that often feel tight, such as hands, shins, knees, elbows, and heels.
For your face, start with less than a pea-sized dab. Warm it fully, then press or smooth it over damp skin. If you have oily or blemish-prone skin, test a small area first and watch how your skin responds. A rich, occlusive texture can feel too heavy for some people. Shea butter can moisturize dry skin, but it may not suit acne-prone skin.
Keep the butter away from your eyes. Use a lighter moisturizer on areas where a thick layer feels uncomfortable. Shea butter may help soften dry skin, but don’t count on it to treat a skin condition, erase scars, or protect you from the sun. It isn’t a substitute for sunscreen.
Use it where you need it
For chapped hands, apply a thin coat after washing, once your skin is damp but not dripping. For heels, massage a small dab into clean feet before bed. If you want to cover your feet afterward, use socks you don’t mind getting oily. On rough elbows or knees, apply a little and wait before dressing.
Shea butter can also be used on lips, but patch-test first and stop if the area gets itchy or swollen. For a sensitive area, fewer ingredients can make it easier to spot what caused a reaction. Don’t apply it to broken or infected skin unless a health professional says it’s appropriate.
A simple body-care routine works best when each step has a job. If you exfoliate, use a gentle scrub as directed, rinse well, then moisturize. Our body scrub use guide explains how to apply a scrub without making it the same step as your moisturizer.
Use once and see how your skin feels before making it a daily habit. If it feels comfortable, you can use it again when dryness returns. If it feels greasy, itchy, or warm, wash it off and pause use.
Step 4: Use Shea Butter on Hair Without Overapplying
For hair, shea butter is best treated as a small amount of conditioner or sealant, not a full coating. It can soften dry ends and help hold in moisture already present in damp hair. Start with a rice-grain-sized dab for fine hair or a pea-sized amount for thicker, coarser hair. Adjust for your hair’s length and density.
For dry ends or textured hair
Warm the dab between your fingertips until it spreads easily. Smooth it over damp ends or through a small section of damp hair. Keep the first application away from your roots, especially if your hair gets oily quickly. Add a little more only to sections that still feel dry.
For curls or coils, work in sections so one area doesn’t get a heavy load while the rest gets none. Apply the butter after water or a water-based leave-in product. This order gives the butter moisture to help seal in. It doesn’t replace washing or conditioning.
Fine hair often shows buildup sooner. If your strands look flat, feel coated, or stay greasy after styling, wash the butter out and use less next time. A butter layer that is too thick can weigh down hair, even when the ends are dry.
For a pre-wash scalp treatment
If your scalp feels dry, try a small amount before shampooing rather than leaving a heavy layer on all day. Warm the butter in your hands, use your fingertips to spread a light film over the scalp, and leave it for about 20 to 30 minutes. Then shampoo it out. Stop if your scalp gets itchy or irritated.
Don’t assume that more butter will make a better hair mask. Hair texture, porosity, and styling habits all affect how much you need. If your hair is fine or low-porosity, use less and apply it to damp strands. If your ends are more damaged than your roots, focus the butter there.

Rinse or shampoo when your hair feels coated. If you use rich products often, wash well before applying another layer. A clean start makes it easier to judge whether the butter helps or simply builds up.
Step 5: Build Shea Butter Into a Simple Routine
Start with one use, then keep the routine easy to track. For example, apply a thin layer to damp skin after a shower, or smooth a small dab over hair ends after washing. Use it when dryness calls for it. You don’t need to add it to every step of your routine.
Here’s a simple way to check whether the amount is right: look at how your skin or hair feels after it has had time to settle. Comfortable and soft is a good sign. A sticky film on skin or coated strands usually means you used too much. Reduce the amount before changing the rest of your routine.
AP Health Wellness Hub focuses on wellness products that can fit into everyday routines. For skin care, our guide to vitamin E and skin health covers a different ingredient and how to think about its use and safety. Keep new products separate at first so it’s easier to tell which one your skin likes.
Simple DIY uses
You can use plain shea butter by itself as a balm for dry spots. For a softer body butter, some DIY makers blend it with a carrier oil. Start with a small batch and use clean, dry tools. Adding water changes the safety needs of a homemade product because water can support microbial growth. Water-based lotions need an appropriate preservative and sound formulation practices.
For a basic anhydrous balm, keep the ingredients oil-based and dry. Don’t add fresh fruit, tea, or other water-based ingredients and assume the mixture will stay safe on a shelf. A homemade blend also needs a clean container and careful storage. If you’re new to DIY skin care, plain shea butter is easier to assess than a mix of several ingredients.
Shea butter is also used in soap making, but soap is made with a chemical reaction that needs accurate measurements and a tested recipe. Don’t improvise amounts of lye or oils. Follow a trusted soap-making method and its safety directions. Shea butter in a recipe doesn’t make the finished soap the same as applying raw butter to skin.
When shopping, you may also want to consider how the butter was made and who benefits from its production. Look for clear details about sourcing and processing on the label or seller’s site. Traditional shea production has a long history in West Africa, where the ingredient comes from. A clear account is more useful than a broad claim like “ethical” without supporting details.
Step 6: Know When to Stop and How to Store It
Stop using shea butter if you notice itching, redness, swelling, hives, or a rash. Wash it off gently. If the reaction is severe or doesn’t settle, seek medical advice. A patch test can lower the chance of a surprise reaction, but it can’t guarantee that irritation won’t happen later.
Oily or blemish-prone skin may find the texture too heavy. Hair can also feel coated if you apply too much or layer it repeatedly. In either case, pause use and see whether the issue clears. You don’t have to make the butter work for every part of your routine.
Store it clean and dry
Keep the lid closed and store the jar in a cool, dry place away from direct sunlight and heat. Use clean, dry fingers or a clean utensil to scoop it out. Water or damp fingers can introduce moisture into the jar, which may lead to contamination.
Shea butter can soften or melt in a warm room. A change in texture alone may happen with temperature shifts. But discard it if you notice a rancid smell, a marked color change, or an unusual texture along with other signs of spoilage. Don’t apply a product that seems spoiled, especially to sensitive or damaged skin.
There isn’t one shelf-life number that fits every jar. Follow the package directions and use the product within its stated period after opening. Storage conditions matter: heat, light, air, and moisture can affect quality. Keeping the jar sealed and dry helps protect it between uses.
Shea butter isn’t a replacement for sunscreen. Keep using sun protection suited to your needs, even if your moisturizer contains shea butter.
FAQ
Can I use shea butter on my face every day?
You can use shea butter on your face if your skin tolerates its rich feel. Start with a very small amount on damp skin and test a small area first. If you have oily or blemish-prone skin, it may feel too heavy. Stop if you notice itching, redness, swelling, or new irritation.
Should I apply shea butter to wet or dry skin?
Apply it to slightly damp skin rather than very dry skin. Shea butter helps slow moisture loss, so applying it after a shower or washing can help hold in water on the skin’s surface. Pat off excess water first, then warm a small amount between your hands and spread a thin layer.
How much shea butter should I use on my hair?
Start with a rice-grain-sized dab for fine hair or a pea-sized amount for thicker hair. Warm it between your fingers and work it through damp ends first. Add more only if needed. If your hair feels coated or looks flat, wash it out and reduce the amount next time.
Can I leave shea butter in my hair overnight?
You can try a small amount on your hair ends overnight if you’ve used it before without irritation or buildup. Protect your bedding and shampoo as needed. For a scalp treatment, a shorter pre-wash application is an easier starting point. Stop if your scalp feels itchy or uncomfortable.
How do I know if shea butter has gone bad?
Stop using it if it has a rancid smell, a marked color change, or an unusual texture that seems like spoilage. Warm storage can soften or melt shea butter, so texture changes alone don’t always mean it’s bad. Keep the lid closed, use a dry utensil, and follow the package’s storage guidance.
Conclusion
Start with a small amount of shea butter on damp skin or hair, then let your comfort guide the next use. Patch-test first, and stop if irritation appears. If you want to try it, choose a product with a clear ingredient label and begin with one dry area.